The buttons and functions listed will be in use throughout many of the screens while editing your site.
Pages and modules:
- Save: Use this button to save your changes. As with any document, it is advisable to save often. Saving will not publish your work.
- Save & Publish: This will publish your work.
- View: View the screen you are working on
- Delete: A standard function which lets you delete a page or item in a module. Depending on the module you may delete one item at a time or have the option of deleting multiple items at once. If you change your mind there is also an undelete button to recover your entries in the trash.
- Note: For modules, if you delete an item from the trash by choosing "delete forever" then this information cannot be recovered.
- Close "X": Located in the top corner, this button will close the current content panel and return to view the page. The software will prompt you to save if you have not saved before closing.
- Add image: This is dedicated image field where you add images via the file library (where applicable).
Modules:
- New: This is the new entry button. By clicking on this button, you will be able to add new entries to your module.
- Duplicate: This will duplicate an existing entry and create a new one. You can then edit, save and publish.
- List: Return to the list of items in the module.
Below is a sample view of a list article edit screen.

There are two ways you can edit typical pages: On-screen editing and back-end editing. All fields are pre-set with an assigned style from the CMS to ensure consistency across the website.
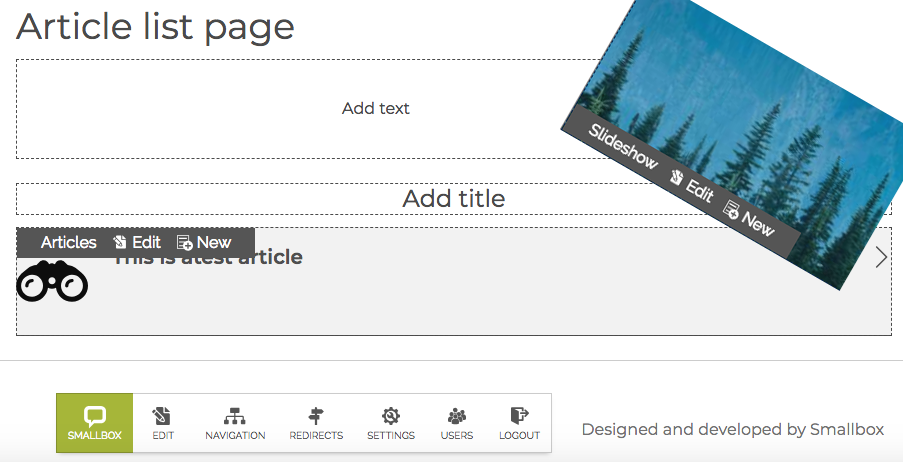
On-screen editing
Hover over content block on your page until you see an edit point highlight that you can click to start adding or editing content. Exiting the field will automatically save it. This option is great to keep you connected to your content and make edits quickly.
Note: You can also access modules on the page, such as articles and slideshows, by hovering over the content block and selecting.
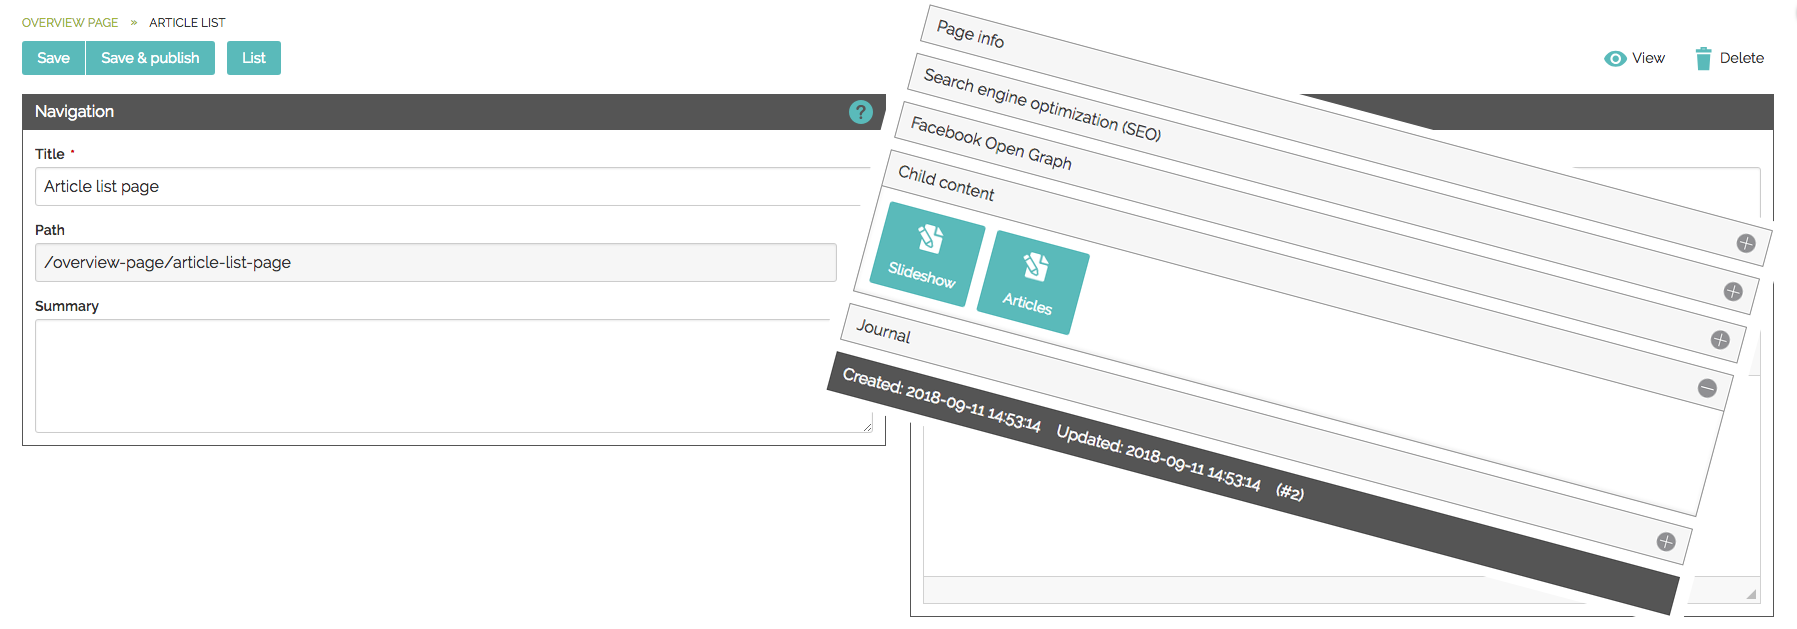
Back-end editing
Go to the page you want to edit and click "edit" in the Smallbox Toolbar. This will take you to a back-end view where you can edit the pre-set fields and access more functionality. This view is best for users who like traditional back-end CMS editing and want access to all available functionality on a page.
All fields on the on-screen edit are available in the back-end edit screens, plus the following fields:
- Page Info: Page layout type and hide page. Page role (security) is available in Smallbox 7.3 and higher. View "Page info" for more details.
- Search Engine Optimization: Content that displayed on search engine results page like Google.
- Facebook Open Graph: Controls how your link will display when it's posted on Facebook
- Child Content: Access to the modules (list editing) that are on the page.
- Available in Smallbox CMS 7.3 and higher
- Journal: A history of your page by user including the ability to revert changes and go back to a previous state.
List editing modules are modules that are found on a page. You will see many of the standard buttons, plus some new ones. They can be accessed though on-screen edit by hovering over the over the content block or in the page back-end edit via "Child Content" (Smallbox 7.3 and higher). See "page editing" for more details on on-screen and back-end edit.
Create an entry
Click on the "new" button to start creating a new entry or open a existing entry to edit it.
Trash
If an entry is deleted it will go to the to the trash. In trash, you can "delete forever" or "undelete".
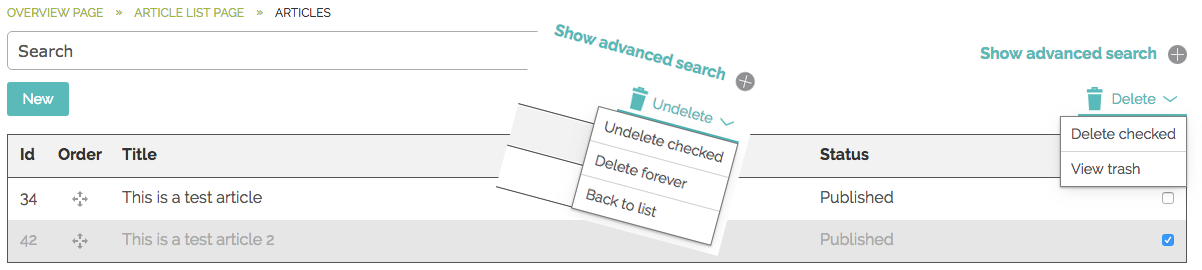
Note: If you "delete forever" the information is no longer retrievable.
Ordering
Depending on your website's criteria, there are a few ordering options available:
 Priority ordering: This uses a drag cross so you can order the list as you like. Hold and click your mouse over the drag cross and drag the entry to where you want it to go. This is ideal for short lists.
- Date ordering: A "posted on" date field where articles can be ordered newest to oldest or oldest to newest.
- Alphabetical: A-Z or Z- A
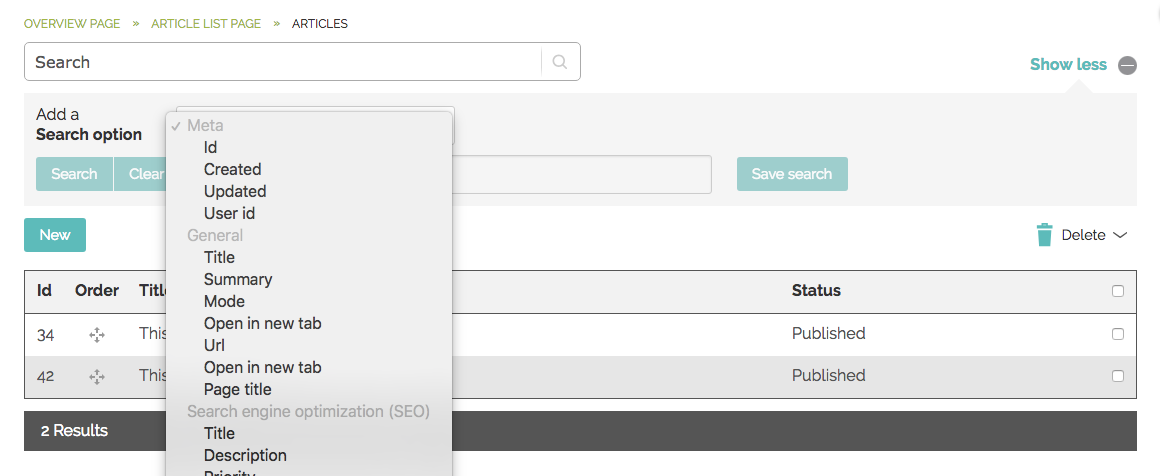
Advanced Search
Many list modules feature an advanced search. See "Advanced Search" for more details.
Additional Fields
Many articles and list modules will have additional fields where possible:
- Categories: Categorize your posts so users can filter quickly to get the information they need,
- Page Info: Page layout type and hide page. See "Page Info" for more details.
- Page role (security) is available in Smallbox 7.3 and higher.
- Search Engine Optimization: Content that is displayed on a search engine results page like Google.
- Facebook Open Graph: Controls how your link will be displayed when it is posted on Facebook.
- Child Content: Access to the modules (list editing) that are on the page. See "Page Info" for more details.
- "Child content" is available in Smallbox CMS 7.3 and higher.
- Journal: A history of changes on your page by user including the ability to revert changes and go back to a previous state.
Below is a sample view of a list article edit screen.
The Rich Text Editor (RTE) is available on select text areas and provides additional options, such as adding special characters, links, text attributes and extra styles to your content. The RTE works much the same as a standard word-processing application such as Microsoft Word.
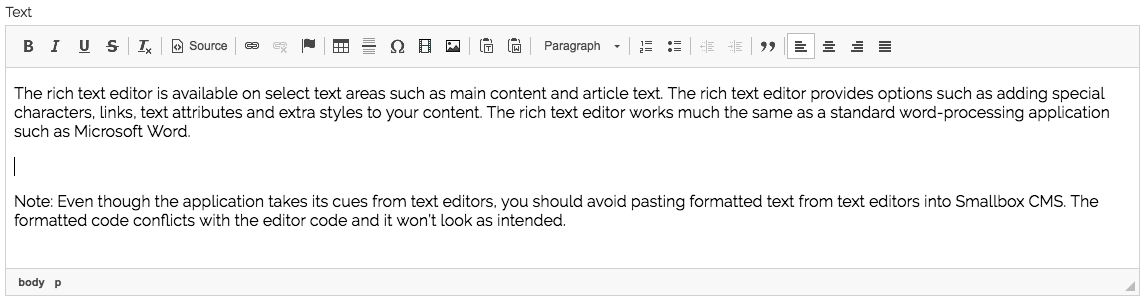
Note: Even though the application takes its cues from text editors, you should avoid pasting formatted text from text editors into Smallbox CMS. The formatted code conflicts with the editor code and it won’t look as intended. See "Populating Tips" for more information.
All databases and many list modules in Smallbox CMS 7 come with Advanced Search. What you can do with this depends on what data you are collecting. The more data, the more options. Here are a few of the things you can do:
- Add a search item or multiple items based on available fields
- Search
- Save your searches for future reference or to export to CSV

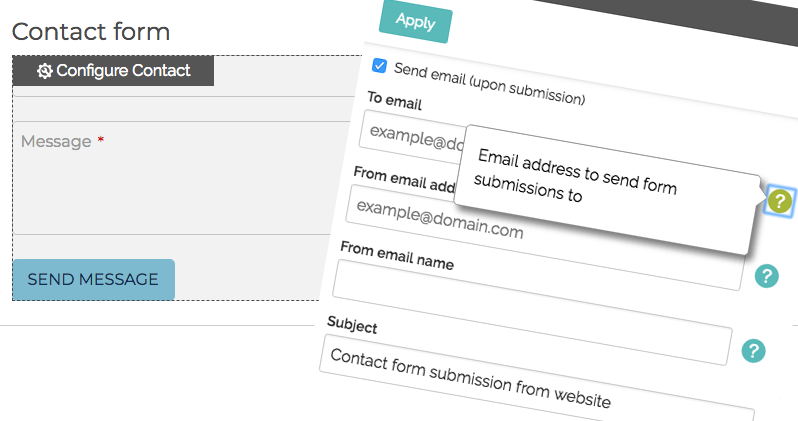
Forms collect user inputted information and store them in a database.
Configuration options:
- When logged in, go to your form page and hover over the form until you see "configure form."
- Set your available options and "apply."
- Success / Thank you message: Depending on your site and type of form there will either be onscreen thank you text (submission success message) or a dedicated thank you page with a success message. This is the text users will see after they submit a form to know that their submission was successful.
How to retrieve and review form submissions:
Email notification:
A site administrator will get an email notification of a form submission:
- The standard contact form: Successful submissions store in the form database and the email notification containing the contents of the form submission are emailed to form contact.
- Extended and custom forms: These forms generally have a link back to the entry in the database for privacy and security reasons. You need to be logged in to see this information.
On-site:
When logged in, go to the page your form is on. Depending on your site setup there may be a toolbar item on your form page with a direct link to the form's database. If not, then a link to the database can be provided to the site administrator.
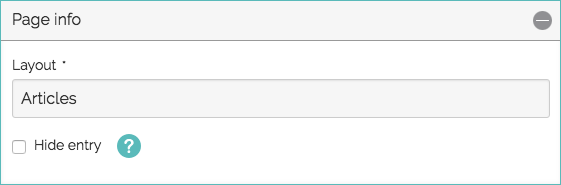
On pages and most list modules there is "Page Info" settings in the back-end edit. This gives you the ability to control who the page is visible to.
Smallbox 7.2 + 7.3
Hide entry: The entry will not be listed anywhere on the site and will be blocked from search engines. However, while hidden it is still available to the public if the link is known. This will hide the page from view and prevent search engines from finding it. If the page is already indexed with search engines it may take some time for the page to be removed from the index.
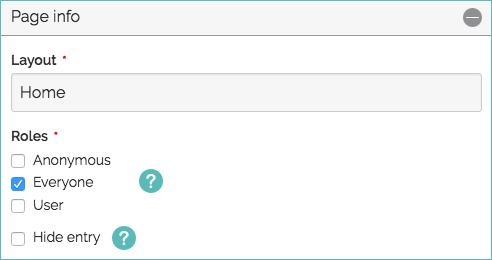
Smallbox 7.3
*Page roles: Specify which users can view this content.
- Anonymous: Only visible to Administrators (for editing purposes) or someone not logged in.
- Everyone: Visible to everyone whether logged in or not.
- User: Only visible to those who are logged in.
*Note: Custom sites or sites with member management and intranets may have additional roles based on their specific needs.