The Smallbox CMS 7 Newsletter is opt-in functionality and available on an additional monthly service level agreement. The newsletter is fully integrated into your website and connects your contacts, content, archives and distribution into a single powerful system. The search, select and share functionality will help create issues quickly so your can reach your audience when you need to. Functionality may vary slightly between Smallbox 7.2, 7.3 and 7.5.
Here you can set the "from" email name and address. This will tell your recipients who the issue came from:
- Go to your newsletter page
- With on-screen edit hover over the issues area until you see "Issue" >> "Configure"
- Click configure
- Enter the from name and email address
- Apply
Creating an Newsletter issue is much like creating an article (See "List Editing" for more information).
Step 1: Create your issue
- Go to your newsletter page:
- With on-screen edit hover over area until you see issue options display (Edit, New, Configure)
- With back-end edit go to Child Content >> Issues (Smallbox 7.3 only)
- Choose "New": This will take you to a blank editing page where you can enter the title, date and front page information of your issue. If you
- "Save" or "Save & Publish": This completes the creation of your issue. When you close this screen, you'll see your newly created issue.
Step 2: Add your callouts
- Go to your newly created issue:
- With on-screen edit hover over area and click "add enews callouts"
- With back-end edit go to Child Content >> Callouts (Smallbox 7.3 only)
- Add callouts: You can add new callouts or import content using the Search, Select and Share functionality.
- Search, Select and Share functionality: Adding content has never been quicker. Search your site for the content you want, import it and edit if necessary
- Save or Save & Publish.
Open the issue you want to send.
You will see a green toolbar at the top of the issue:
- Preview: Preview the issue with the CMS functionality not visible. This is what the issue looks like in the browser when logged out.
- Send test: This will send you a test issue so you can view the issue in an email client before sending to your target audience.
- View contacts: Review your contacts and save searches as necessary
- Sending options: Send to all subscribers or saved search.
Send your issue
From sending option, check all boxes that apply and then click "send now." A progress toolbar will display until the issue has been sent to all contacts in your send criteria.
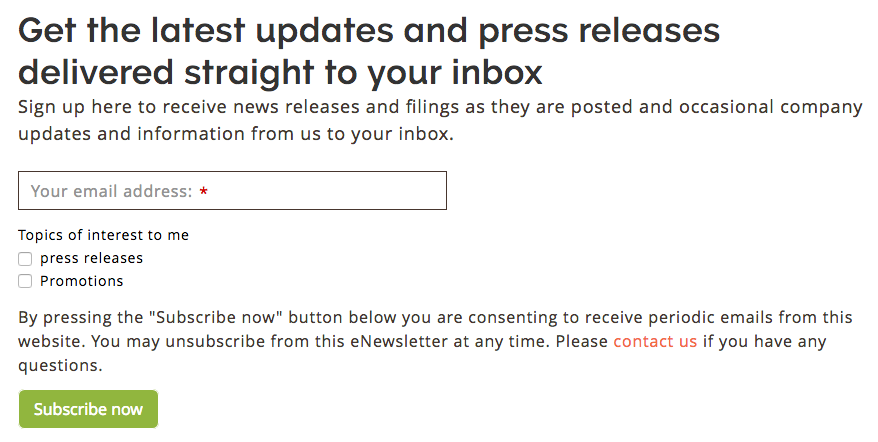
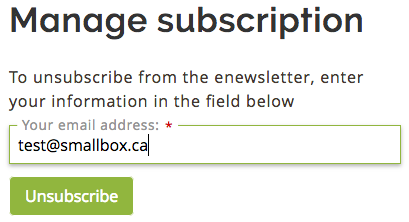
Smallbox newsletters have a database of contacts from your subscribe forms or from a membership database.
Locating your contacts database:
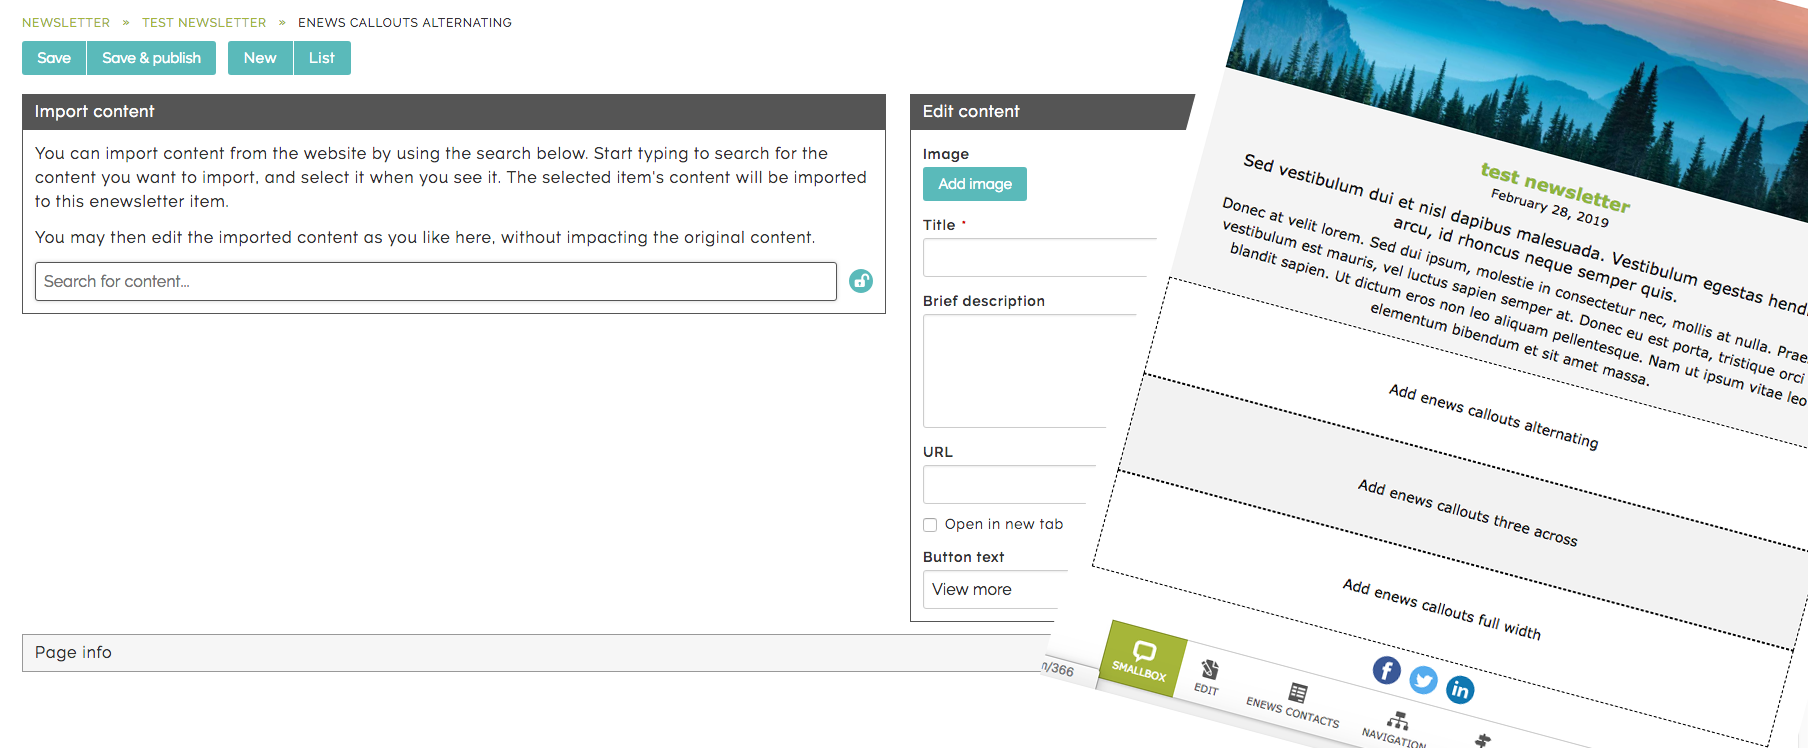
- Newlsetter landing page: Go to your newsletter landing page when logged in and click on "enews" contacts in the Smallbox toolbar.
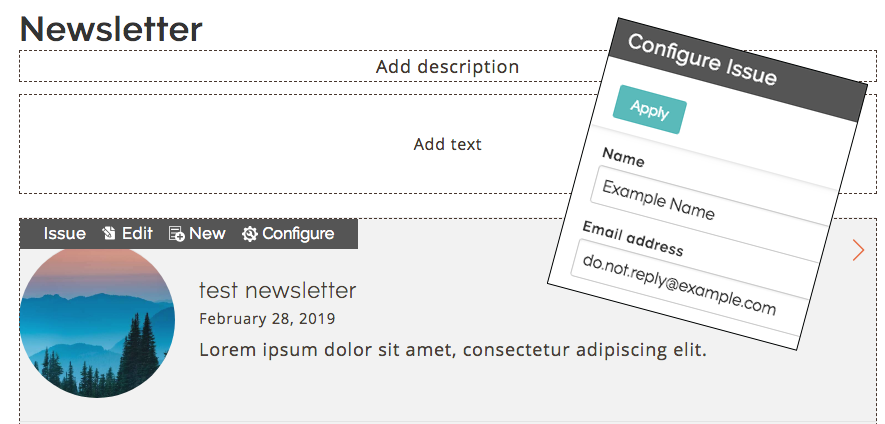
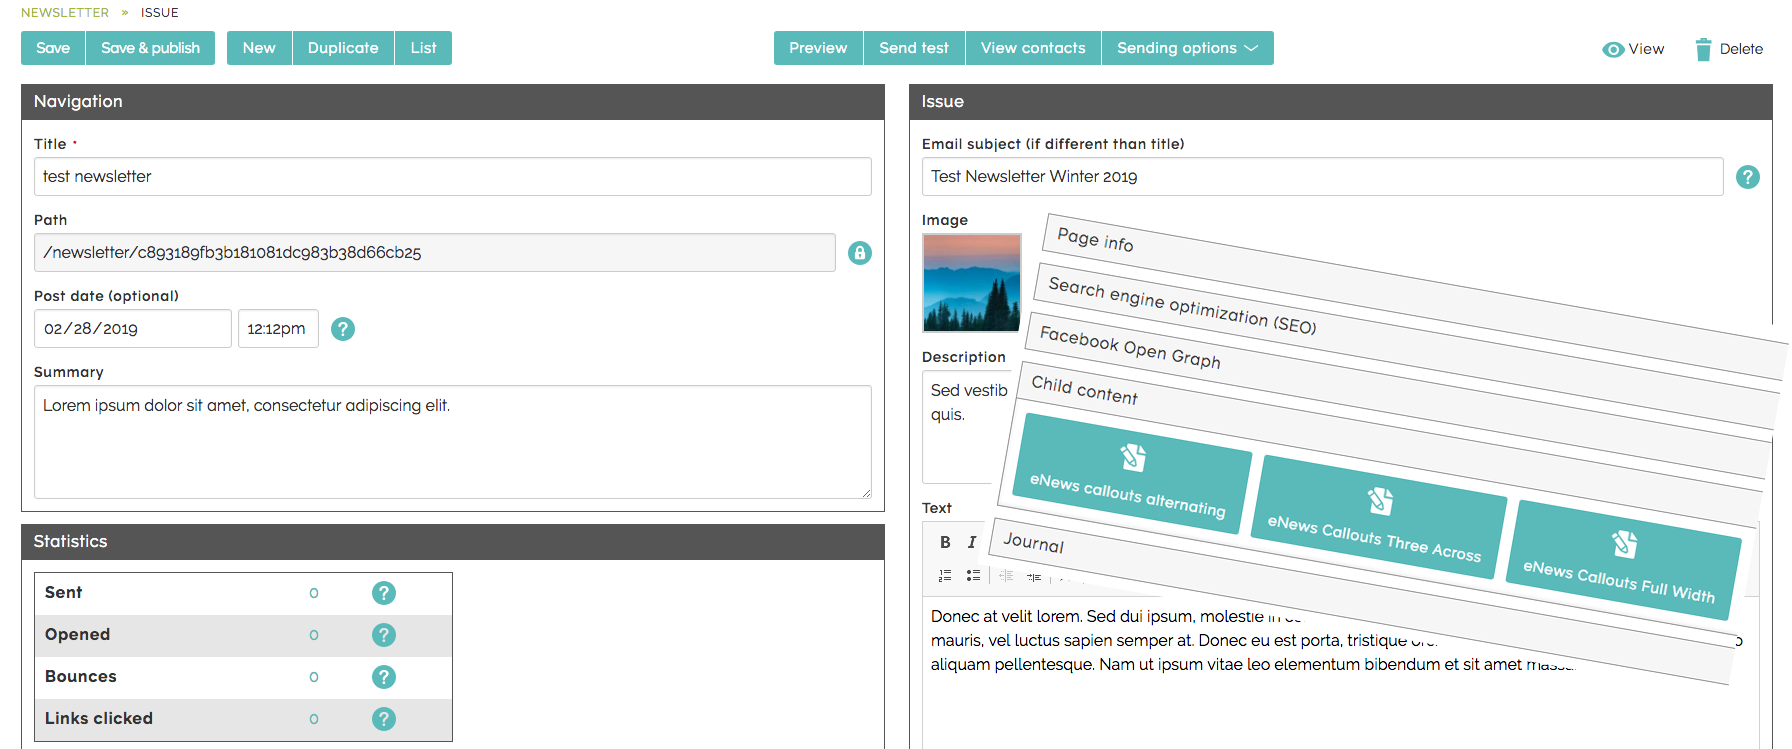
- Newsletter issue: Open a newsletter issue and click the green button at the top call "contacts."
Adding contacts:
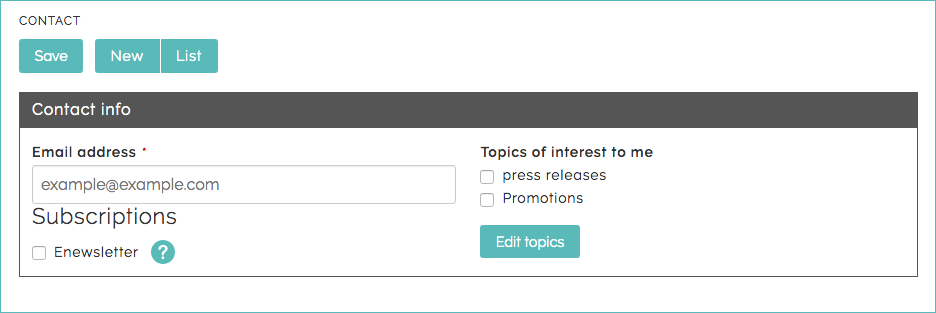
Option 1: Add one by one by using list edit
- Open your contacts database
- Click "new"
- Fill out the profile with available options (custom sites may vary)
- Save
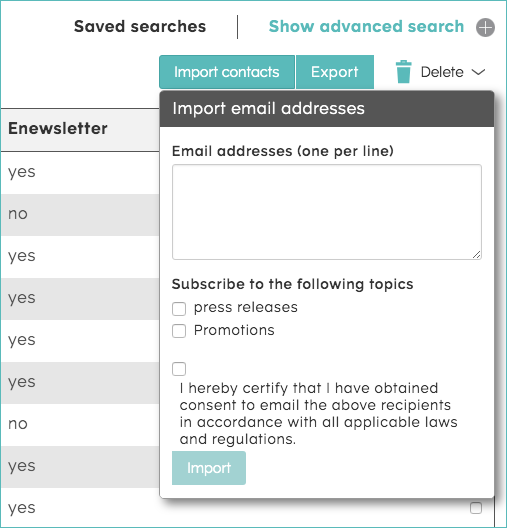
Option 2: Import contacts
- Open your contacts database
- Click import
- Paste in your email list with one per line. The system will exclude duplicates and invalid emails.
- Tip: It's best to clean up your email list before importing. Depending on how big your list is you may have to paste in segments (ex. 500 at a time)
- Check off applicable checkboxes for topics and *compliance.
- *Note: If you are importing contents to send them a newsletter you must have consent to do so. You are responsible to ensure you are in compliance with anti-spam laws applicable to your business. Learn more about the Canadian Anti-Spam Legislation (CASL) on the Smallbox blog.
- Click "import,
- Review
Saved Searches
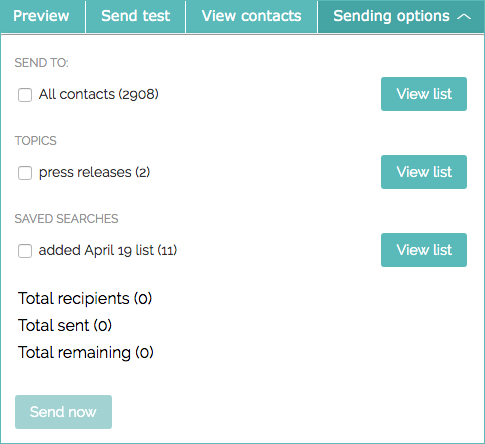
Readily target your contacts by using the advanced search to query your database, save results and then send a newsletter to contacts who fit the profile.
The Smallbox CMS 7 newsletter is an opt-in and opt-out system and is set up to be Canadian Anti-Spam Law (CASL) compliant. User can subscribe and unsubscribe to you newsletter instantly. Once a user subscribes or unsubscribes the "Contacts Database" is updated.
Sample subscribe form:
Sample unsubscribe form:
Users can unsubscribe or manage their preferences from any issue.
Note: Smallbox CMS 7 does not currently offer double opt-in subscribe.
A note about compliance:
You are responsible to ensure you are in compliance with CASL or any other relevant to your business. Learn more about CASL on the Smallbox blog.
Measure your engagement with statistics available right in your newsletter issue. View sent, open, bounced and links clicked. Click overtop of the number and you can download the information to a spreadsheet.
Supported image files:
Supported image files are JPG, *GIF and PNG.
- *Note: Animated GIFs are not supported.
Files that are not supported:
SVG files and video are not supported as many email clients will not display them.